Learn how to change your Minecraft skin using the official launcher. Follow this easy guide to upload your new look and stand out in your next multiplayer game.
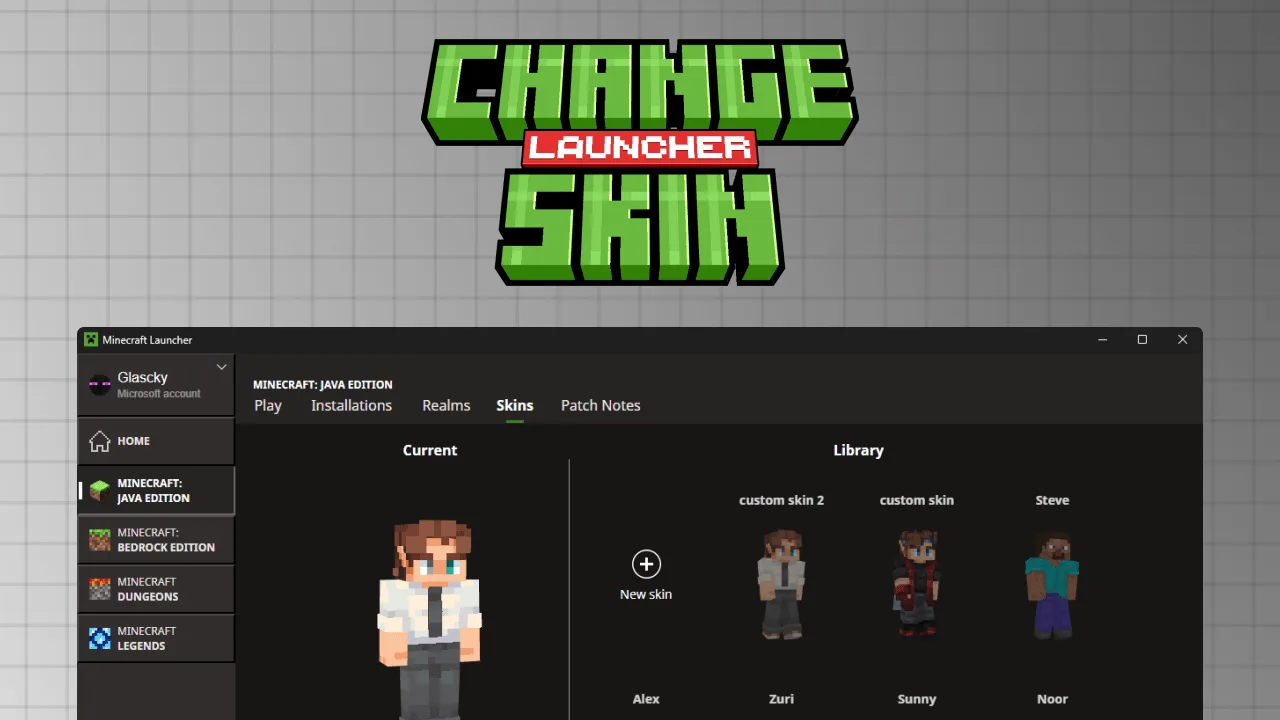
So you found a cool new skin and you want to show it off in your next session. Changing your look is one of the best ways to stand out on a server and express yourself. The good news is that changing your skin is actually super easy and only takes a minute of your time. You do not need any weird mods, shady downloads, or extra tools for this. Just follow these simple steps and you will be ready to go.
Get your skin ready Before you start the process, you need to have a skin file saved on your computer. These are usually small image files that look a bit like a flat paper doll. If you do not have a cool skin yet, you can find plenty of awesome options to download on the Trending Skins page. Look for something that fits your style, whether it is a superhero, a creature, or just a cool outfit. Once you have that .png file sitting in your downloads folder, you are ready to move on to the next part.
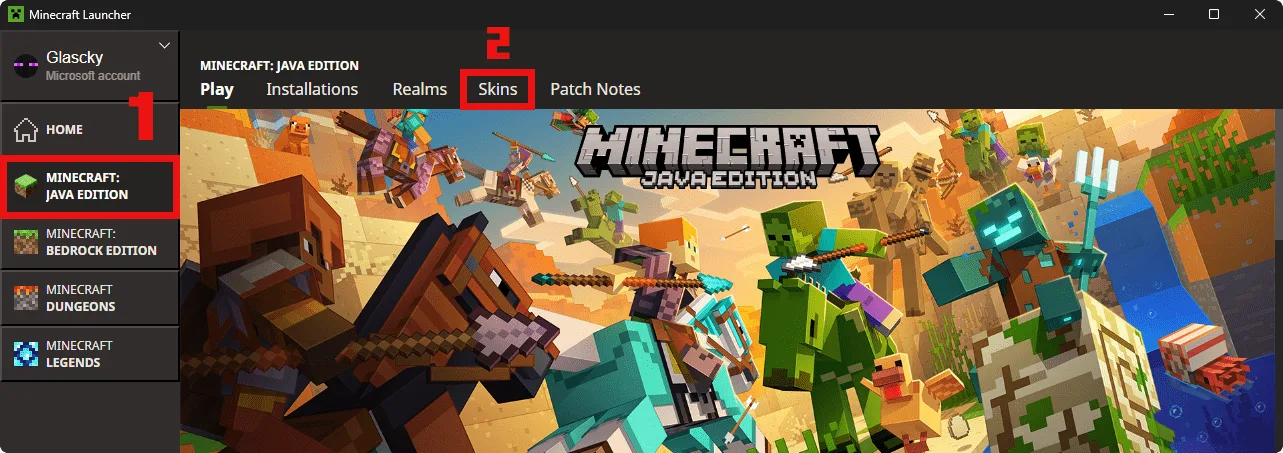
Open the launcher The first thing you need to do is open the official Minecraft Launcher on your computer. This is the same window you use to hit the play button and start the game. Make sure you are logged into your Microsoft account or your player profile. Look at the top of the window and you will see a few different tabs like Play, Installations, and Skins. Click on the one that says Skins to see your current character and your library.
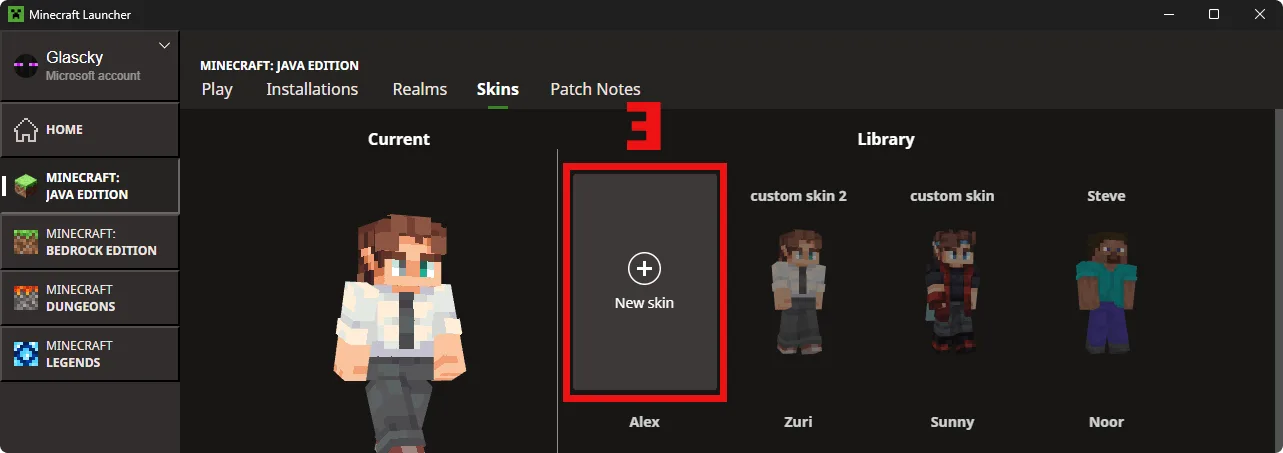
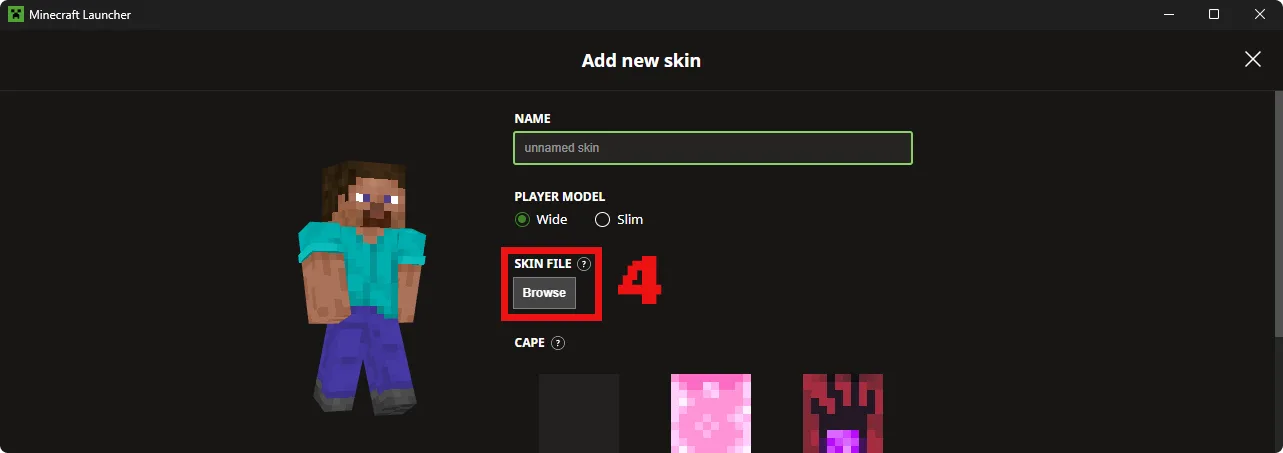
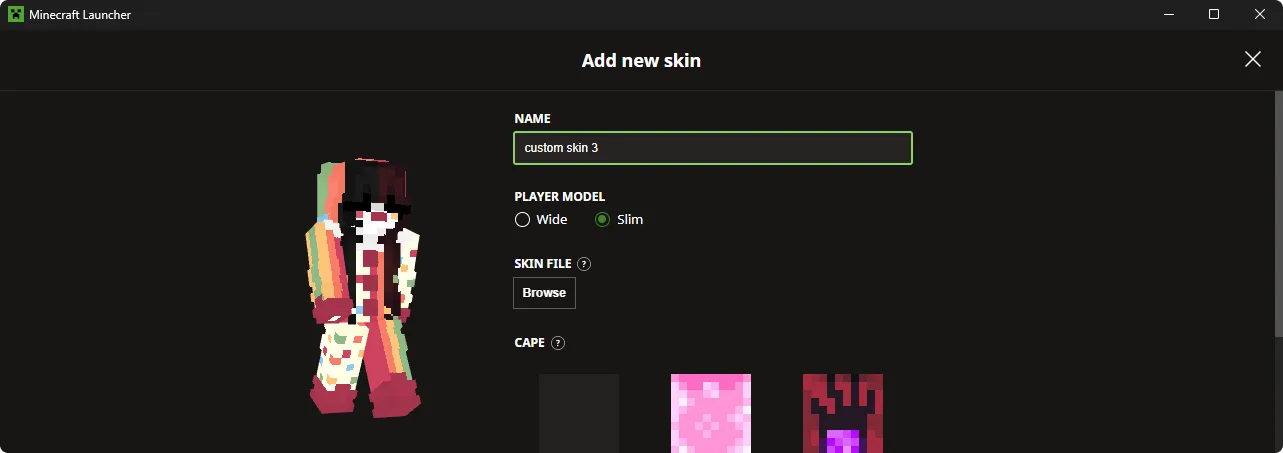
Add your new look Once you are in the Skins tab, you will see the character you are using right now in the middle of the screen. To add a new one, click the big plus sign that says New Skin. Now you can give your skin a name so you can find it easily later. Under the part that says Skin File, click the Browse button. This will open your computer folders. Just find the .png file you downloaded earlier and select it to upload it to the launcher.
Pick your model After you upload the file, you can choose between the Classic or Slim player model. The Classic model has thicker arms, while the Slim model is a bit more narrow. Most skins you find online are made for the Classic model, but if your skin looks a bit weird or has transparent lines on the arms, try switching to the Slim option to see if it looks better. You can check the preview on the screen to make sure everything looks right before you finish.
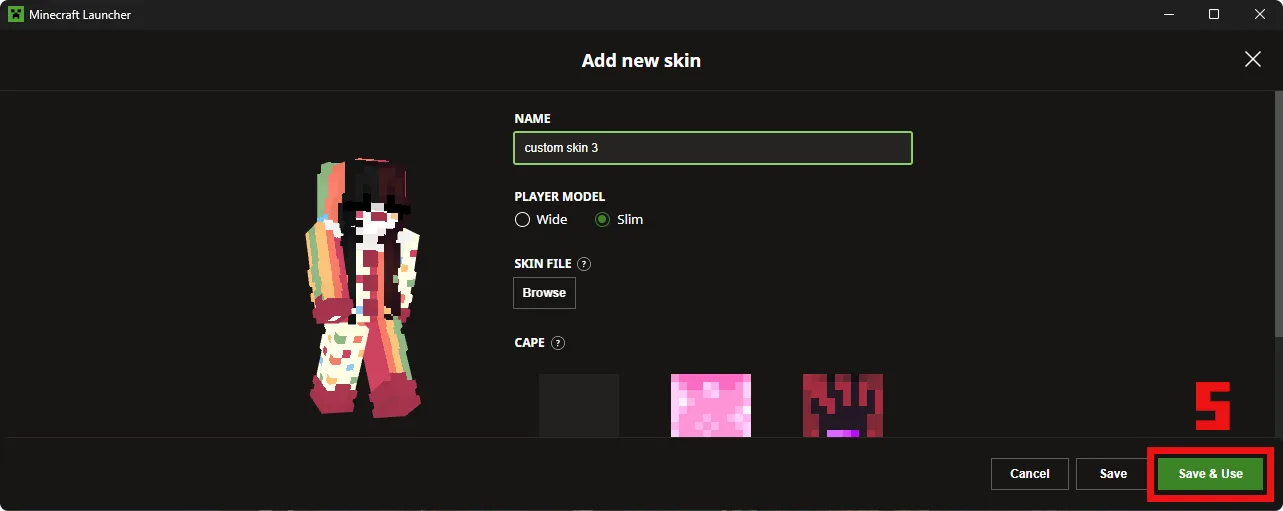
Confirm your choice As you can see in the image below, the final step is to click the button that says Save and Use. This is located on the left side of the screen once you have picked your file and your model type. You can also see your library on the right, which shows all the other skins you have added before. Just make sure your new skin is showing up in the preview area and hit that button to make it official.
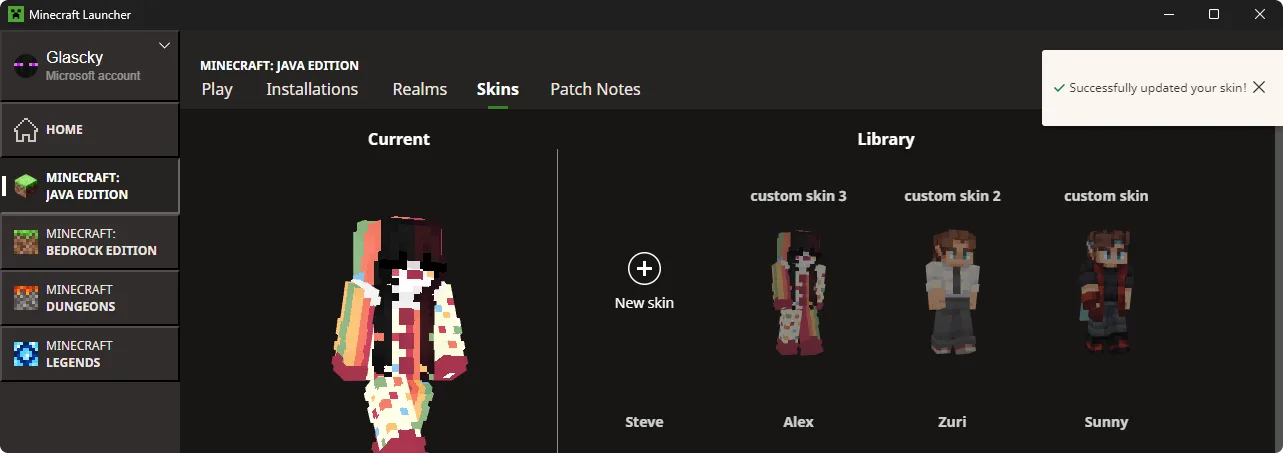
Save and play After everything looks good, just hit Save and Use at the bottom. The launcher will update your profile and your character will be wearing the new skin next time you jump into a world. If you want to switch back to an old skin later, they will all be saved in your library on that same tab. You can just hover over any of them and click Use whenever you feel like changing your vibe again. You should see a success message pop up in the top right corner to let you know you did all the steps correctly.
That is pretty much it. Now you can close the launcher or hit play to jump into a server and show everyone your new style.